When to replace: If you notice your handles wobble or you lose confidence in your handles ability to stay secure.
Note: Each handle comes with a spare O-ring already installed inside. You don't need to purchase replacements unless both O-rings are worn. Please see step 2 for more details.
Note 2: Liddy is not responsible for Lids that are not properly latched, maintained nor tampered with.
Note 2: Liddy is not responsible for Lids that are not properly latched, maintained nor tampered with.
1
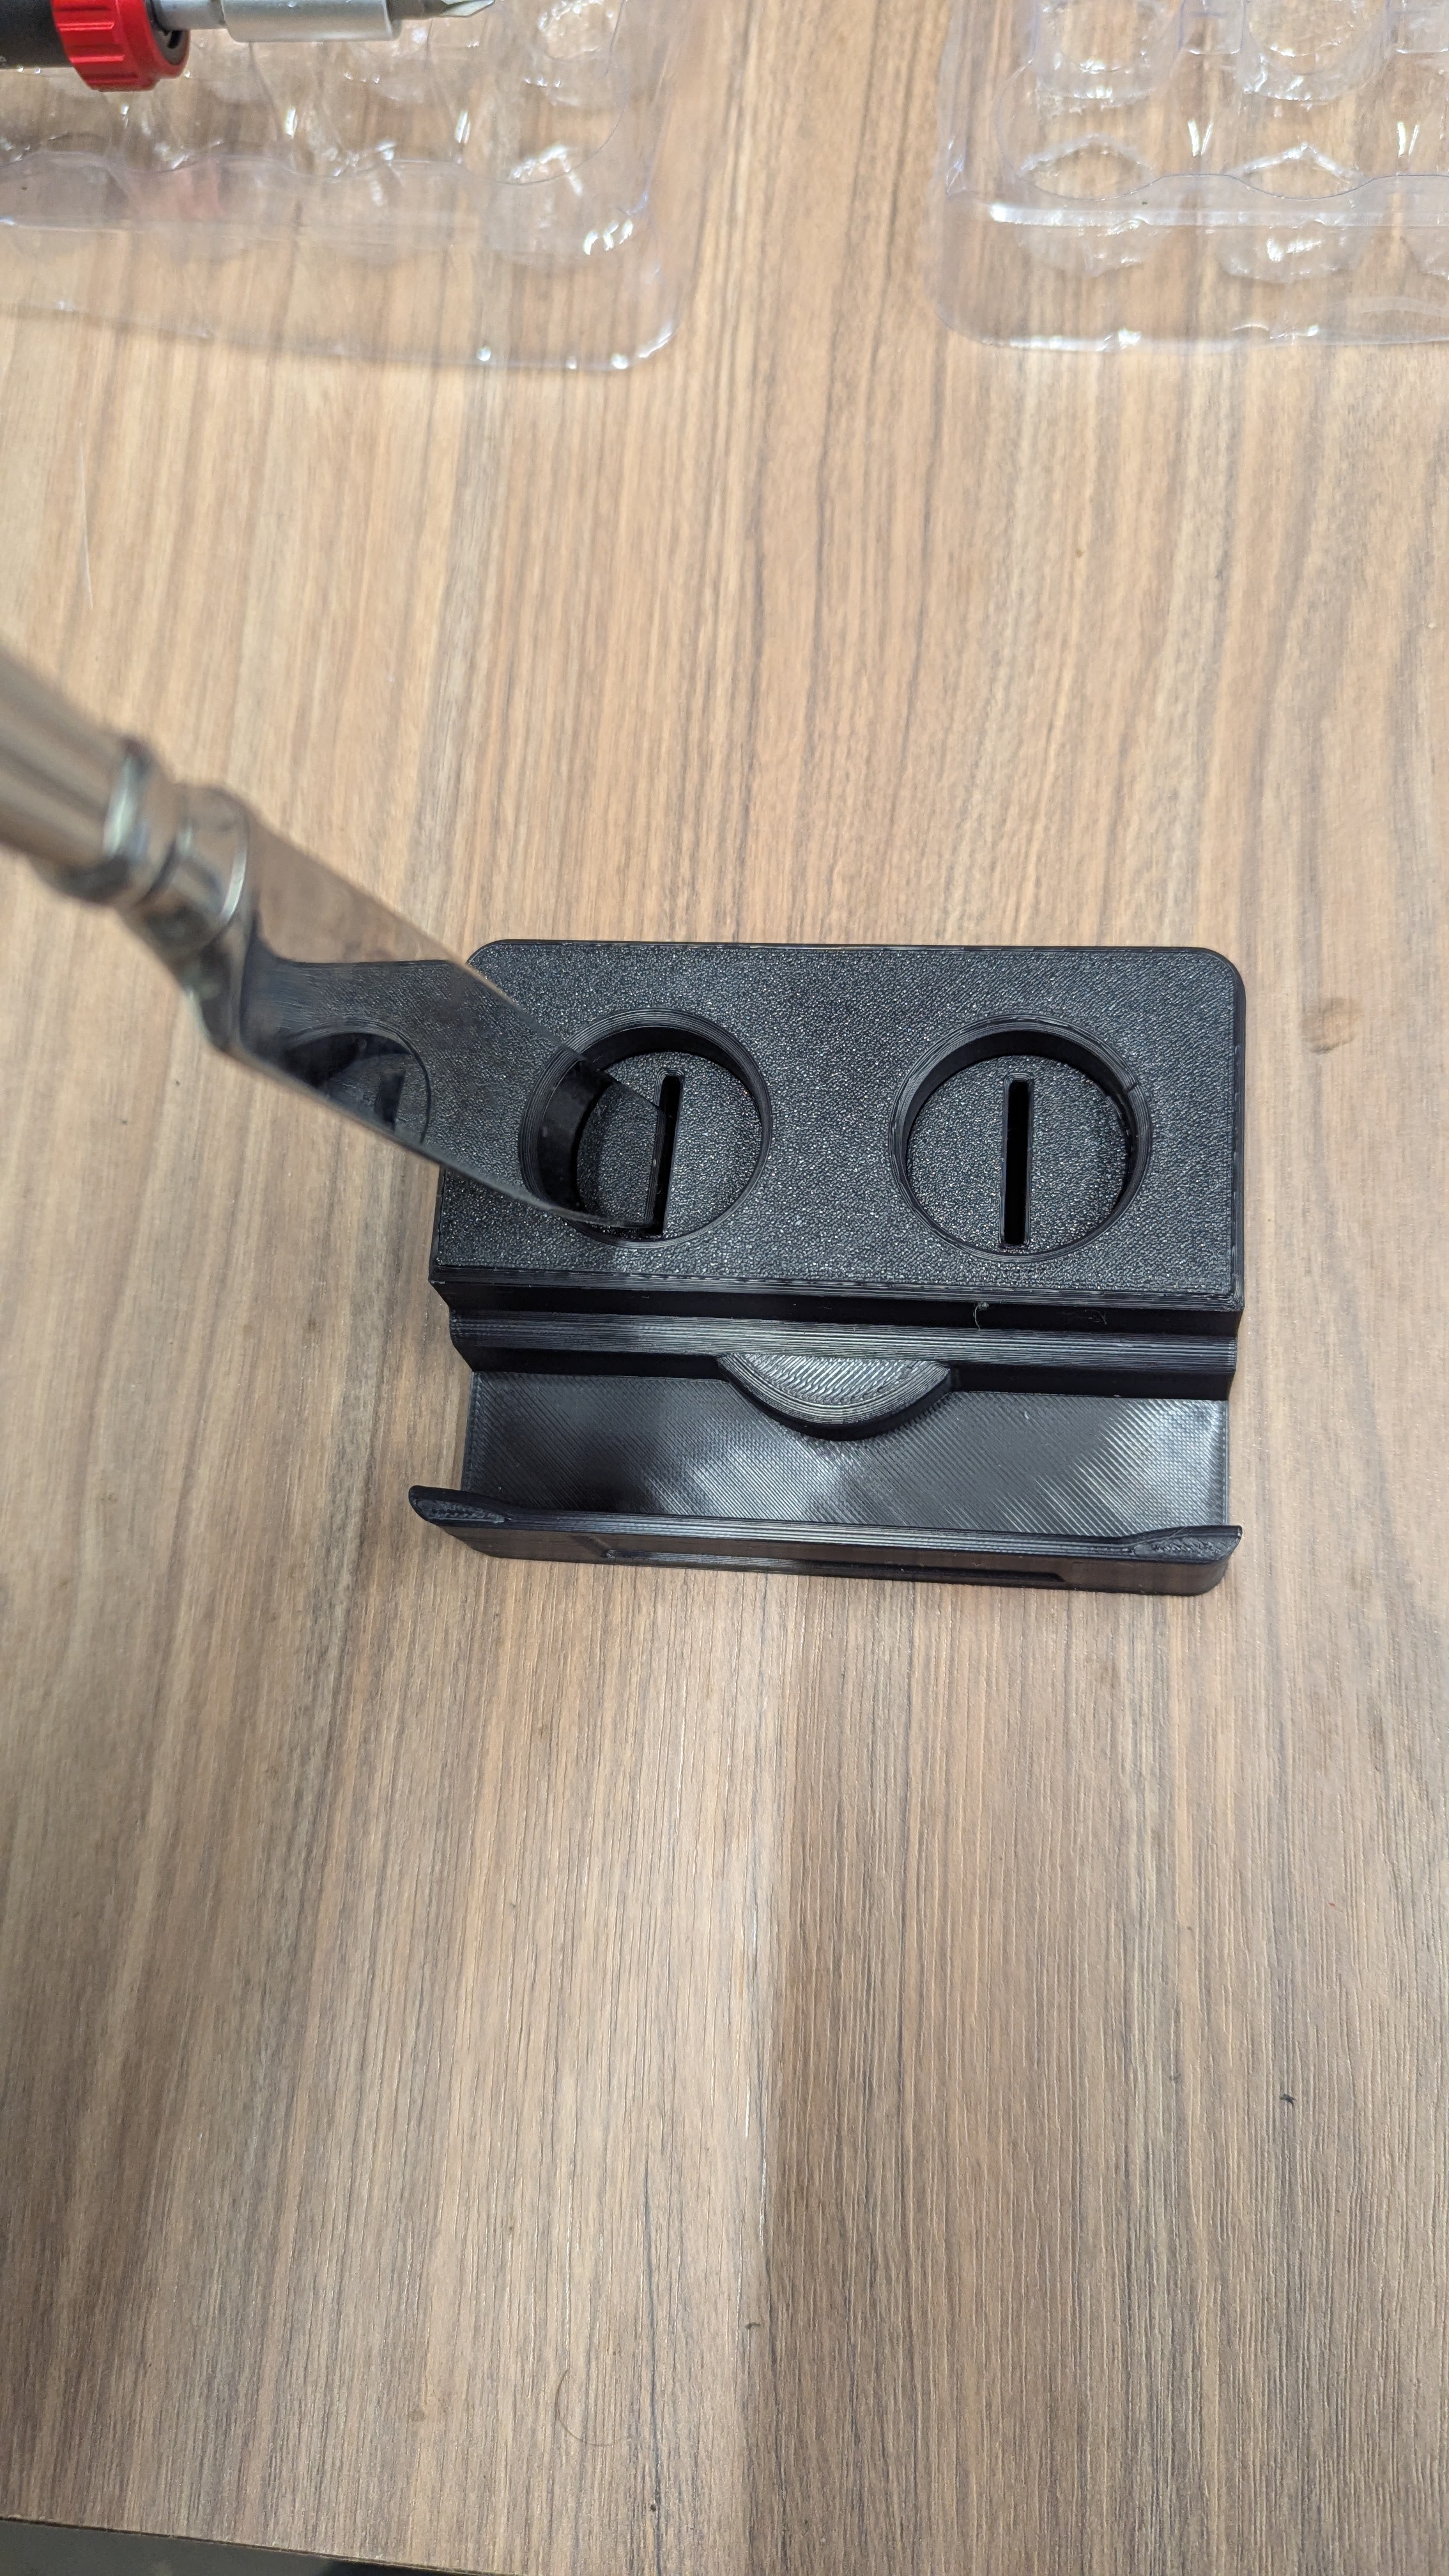
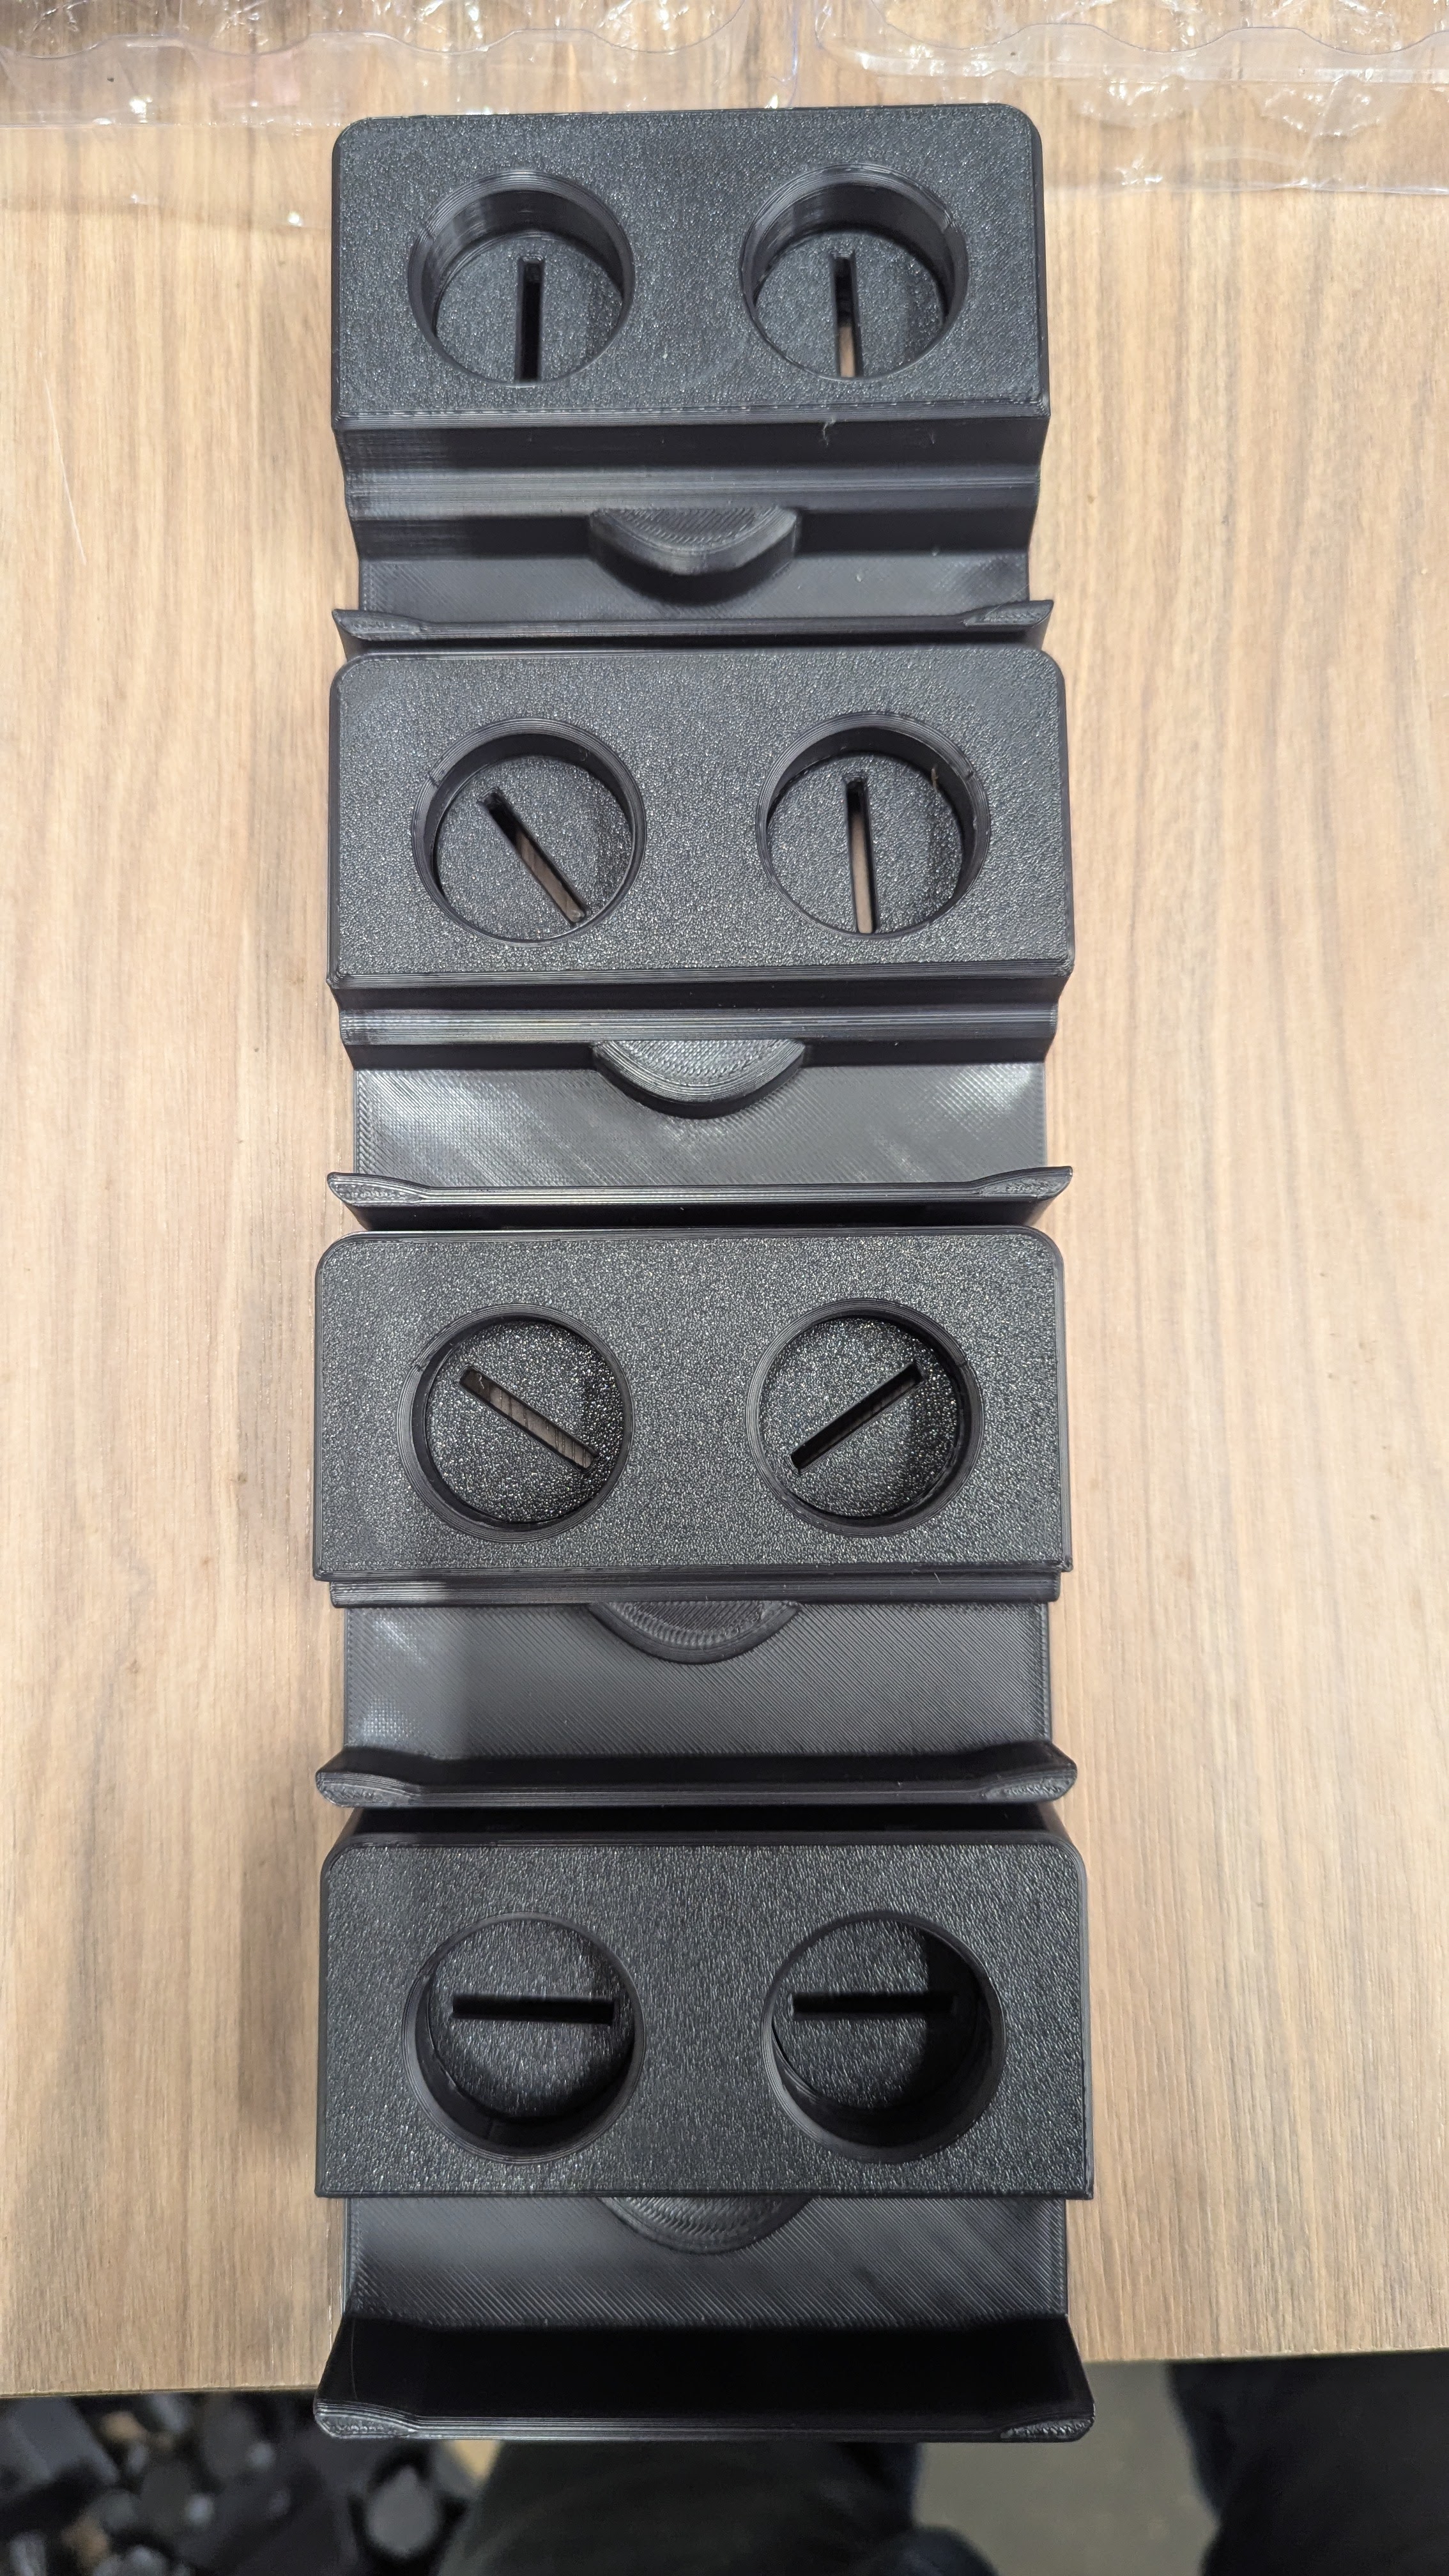
Remove Handle from Lid or Base Station
Look at the bottom of the handle for the factory black O-ring. If this O-ring is still in place, it needs to be removed prior to the installation of the replacement O-ring.
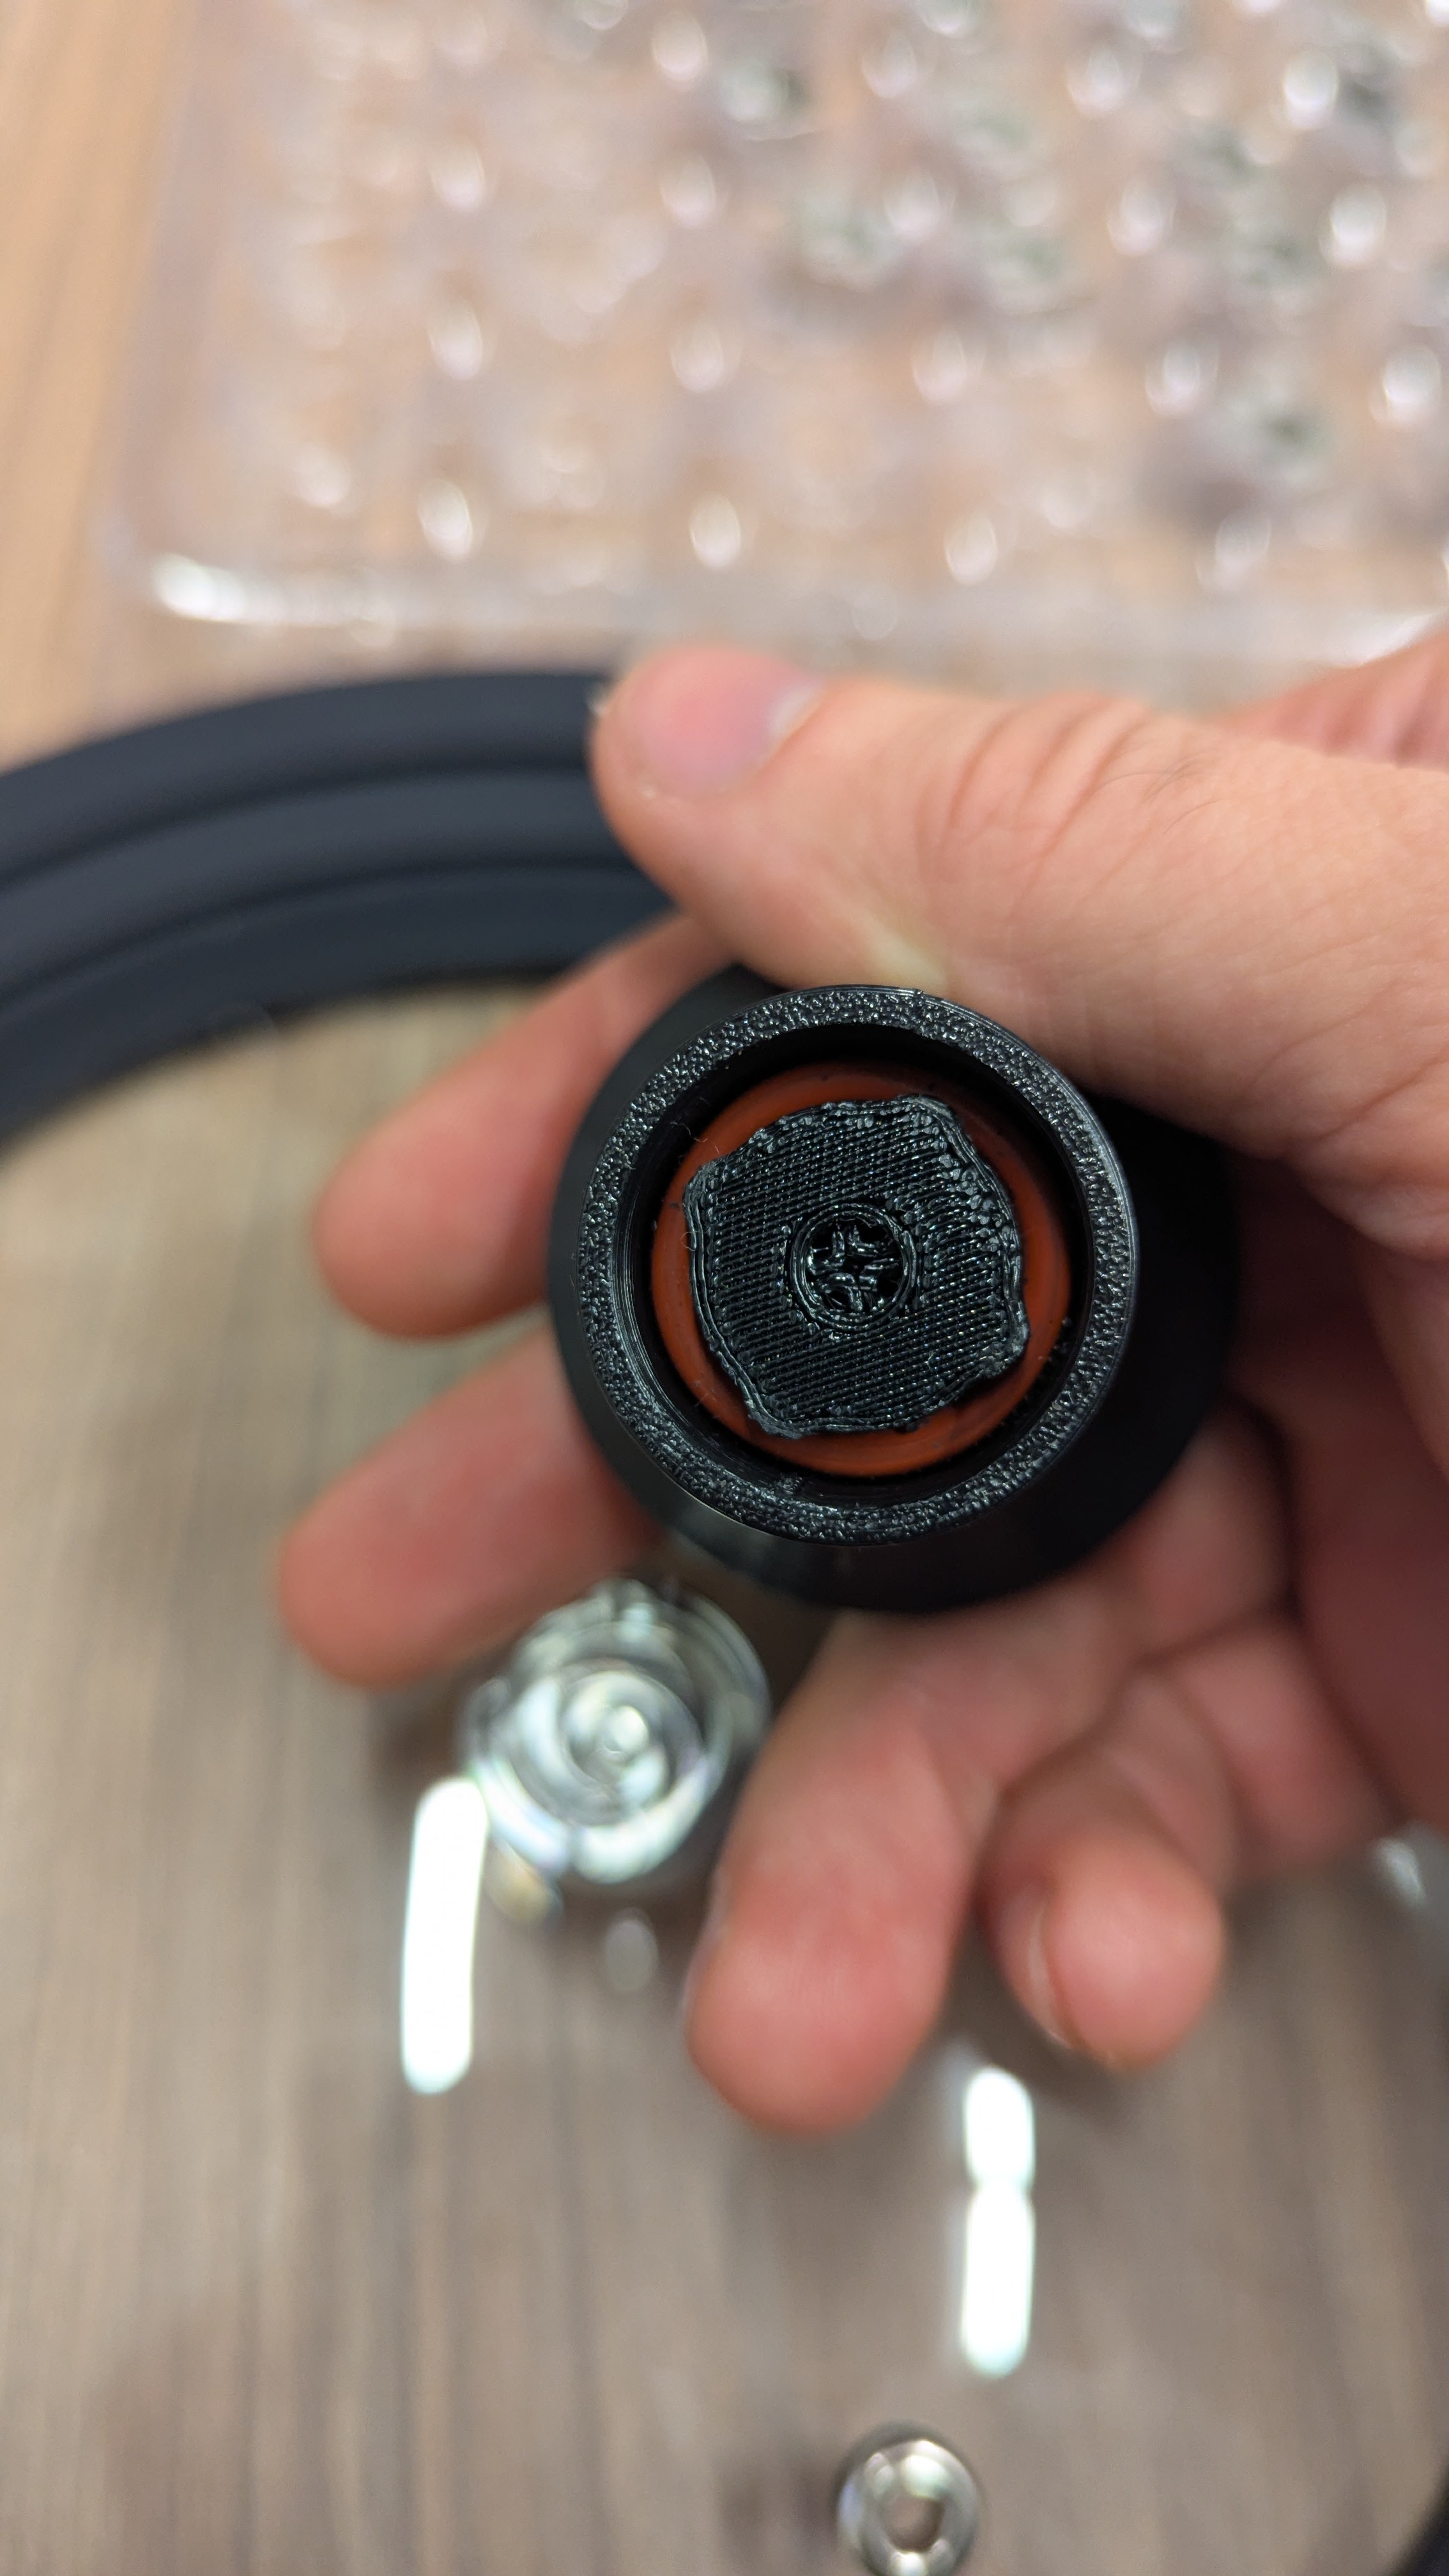
2
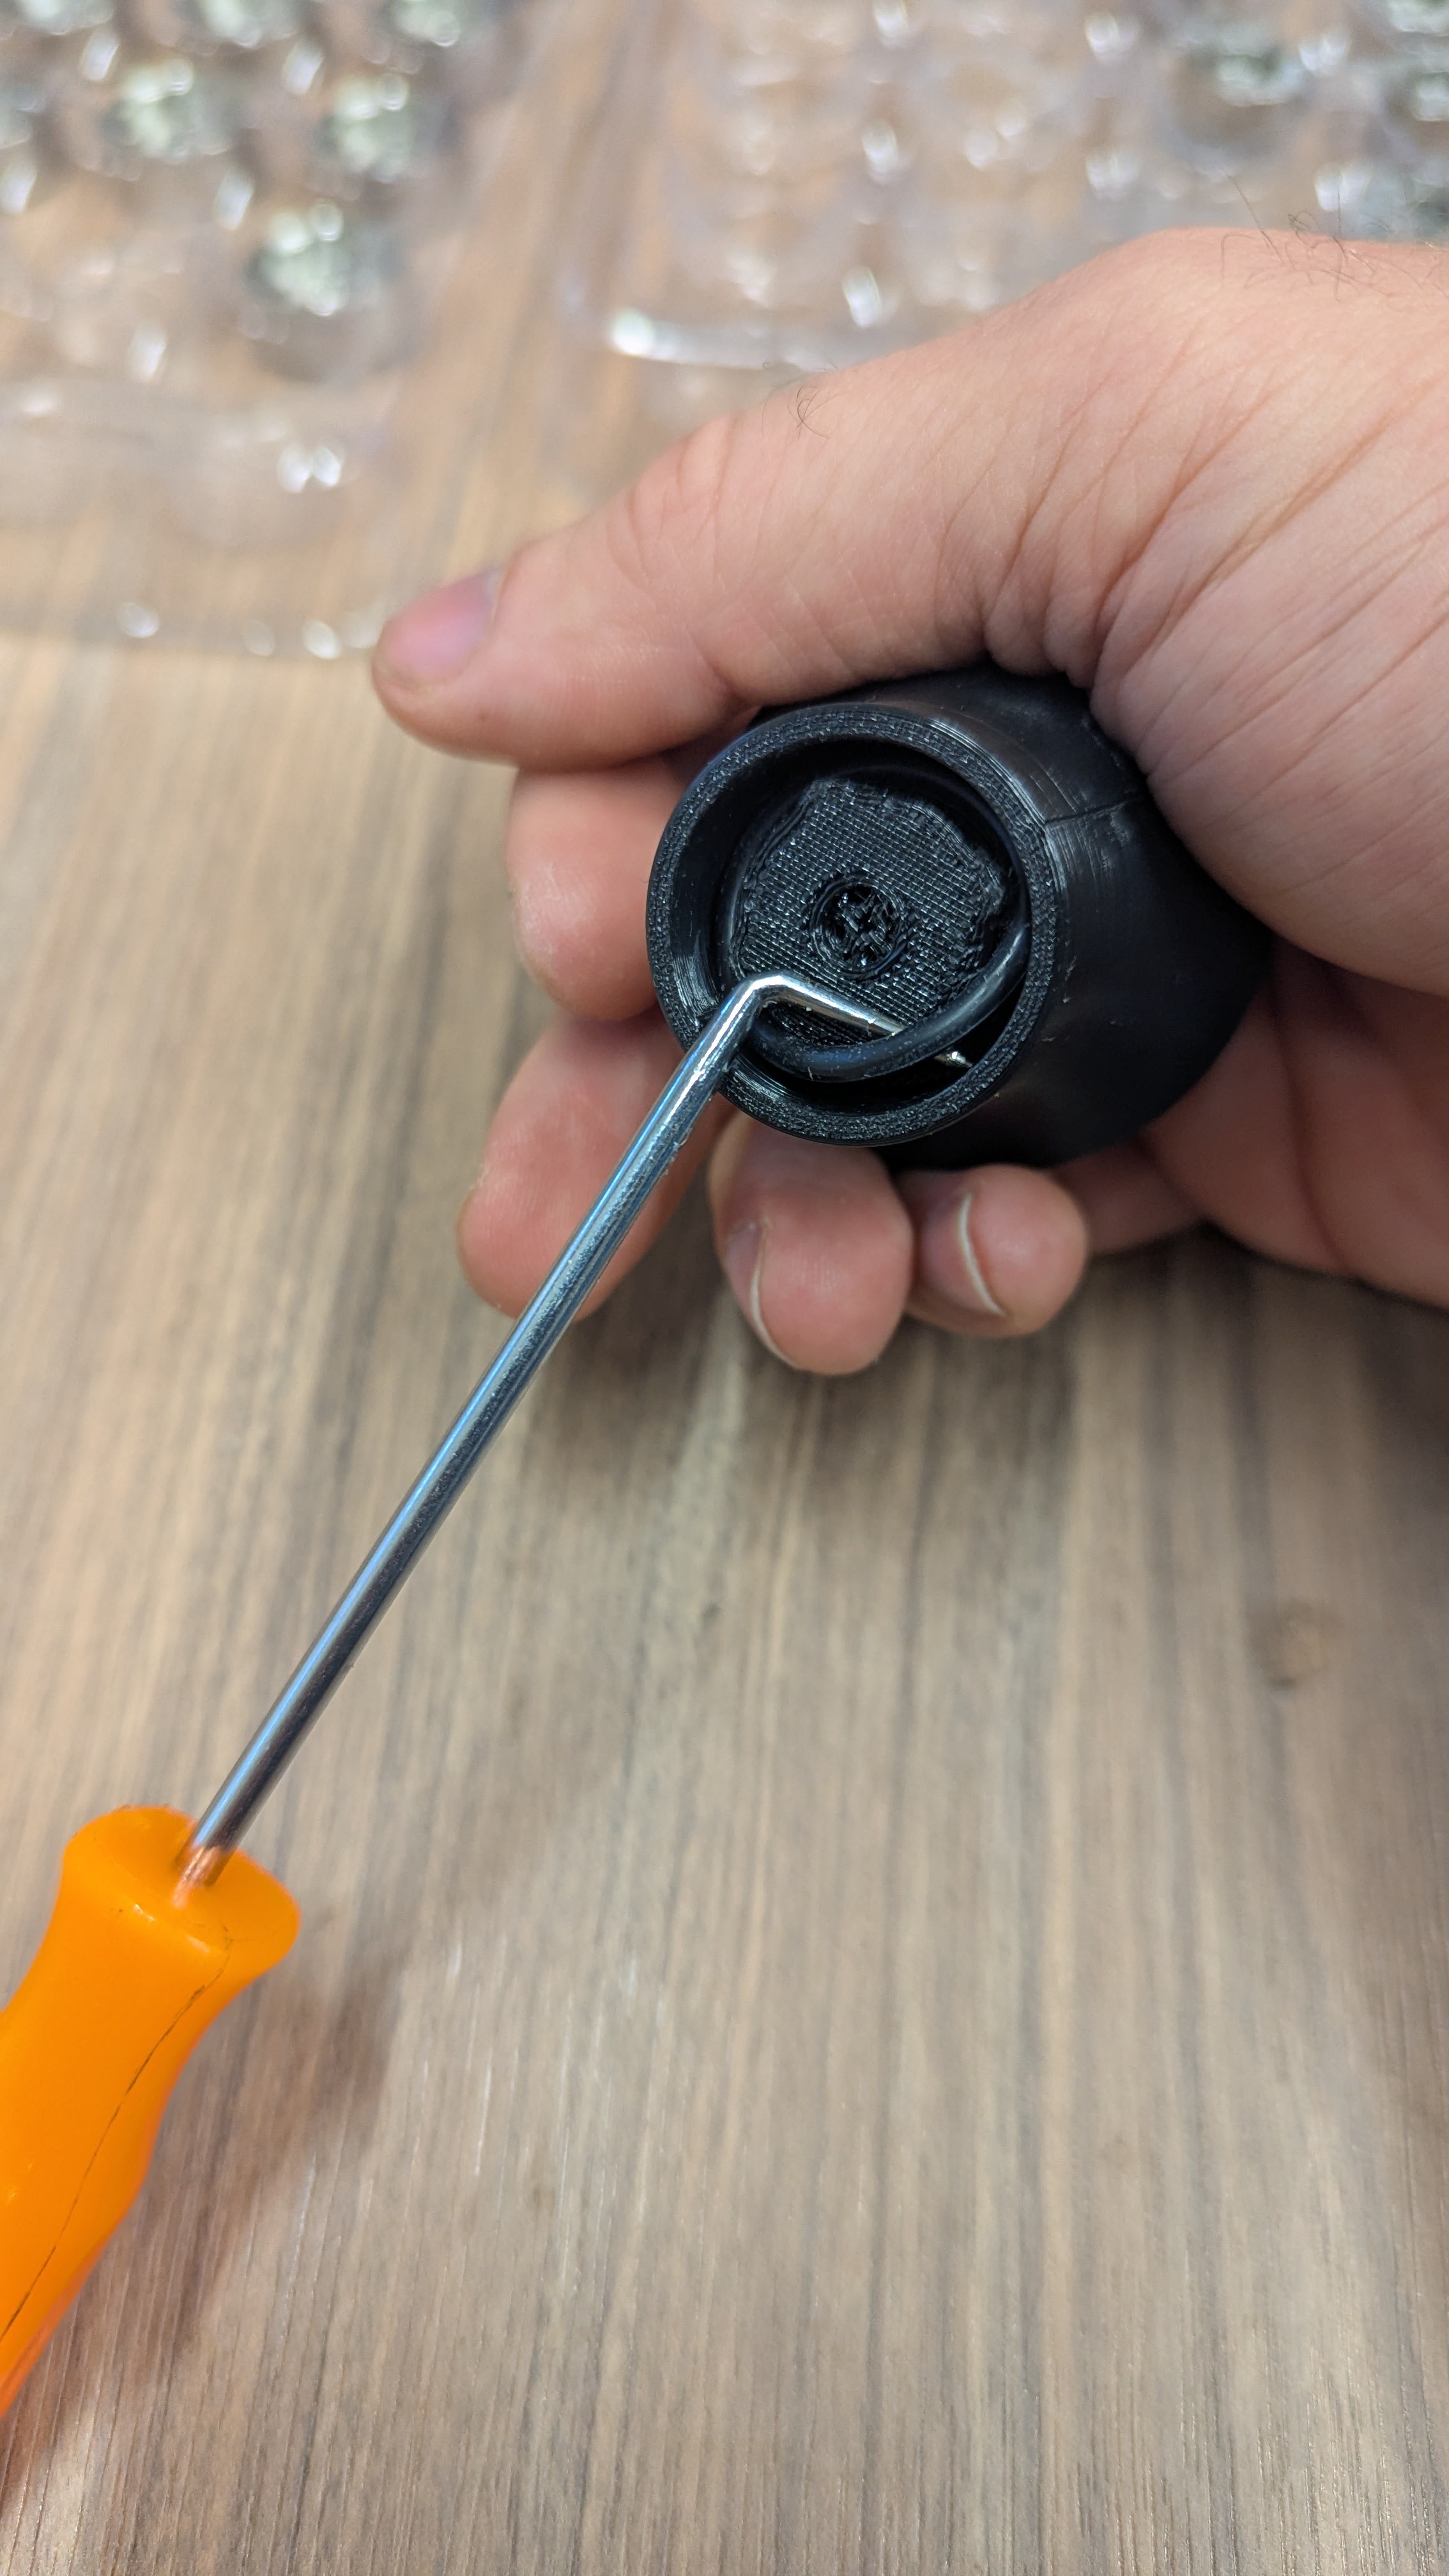
Open the Handle Top
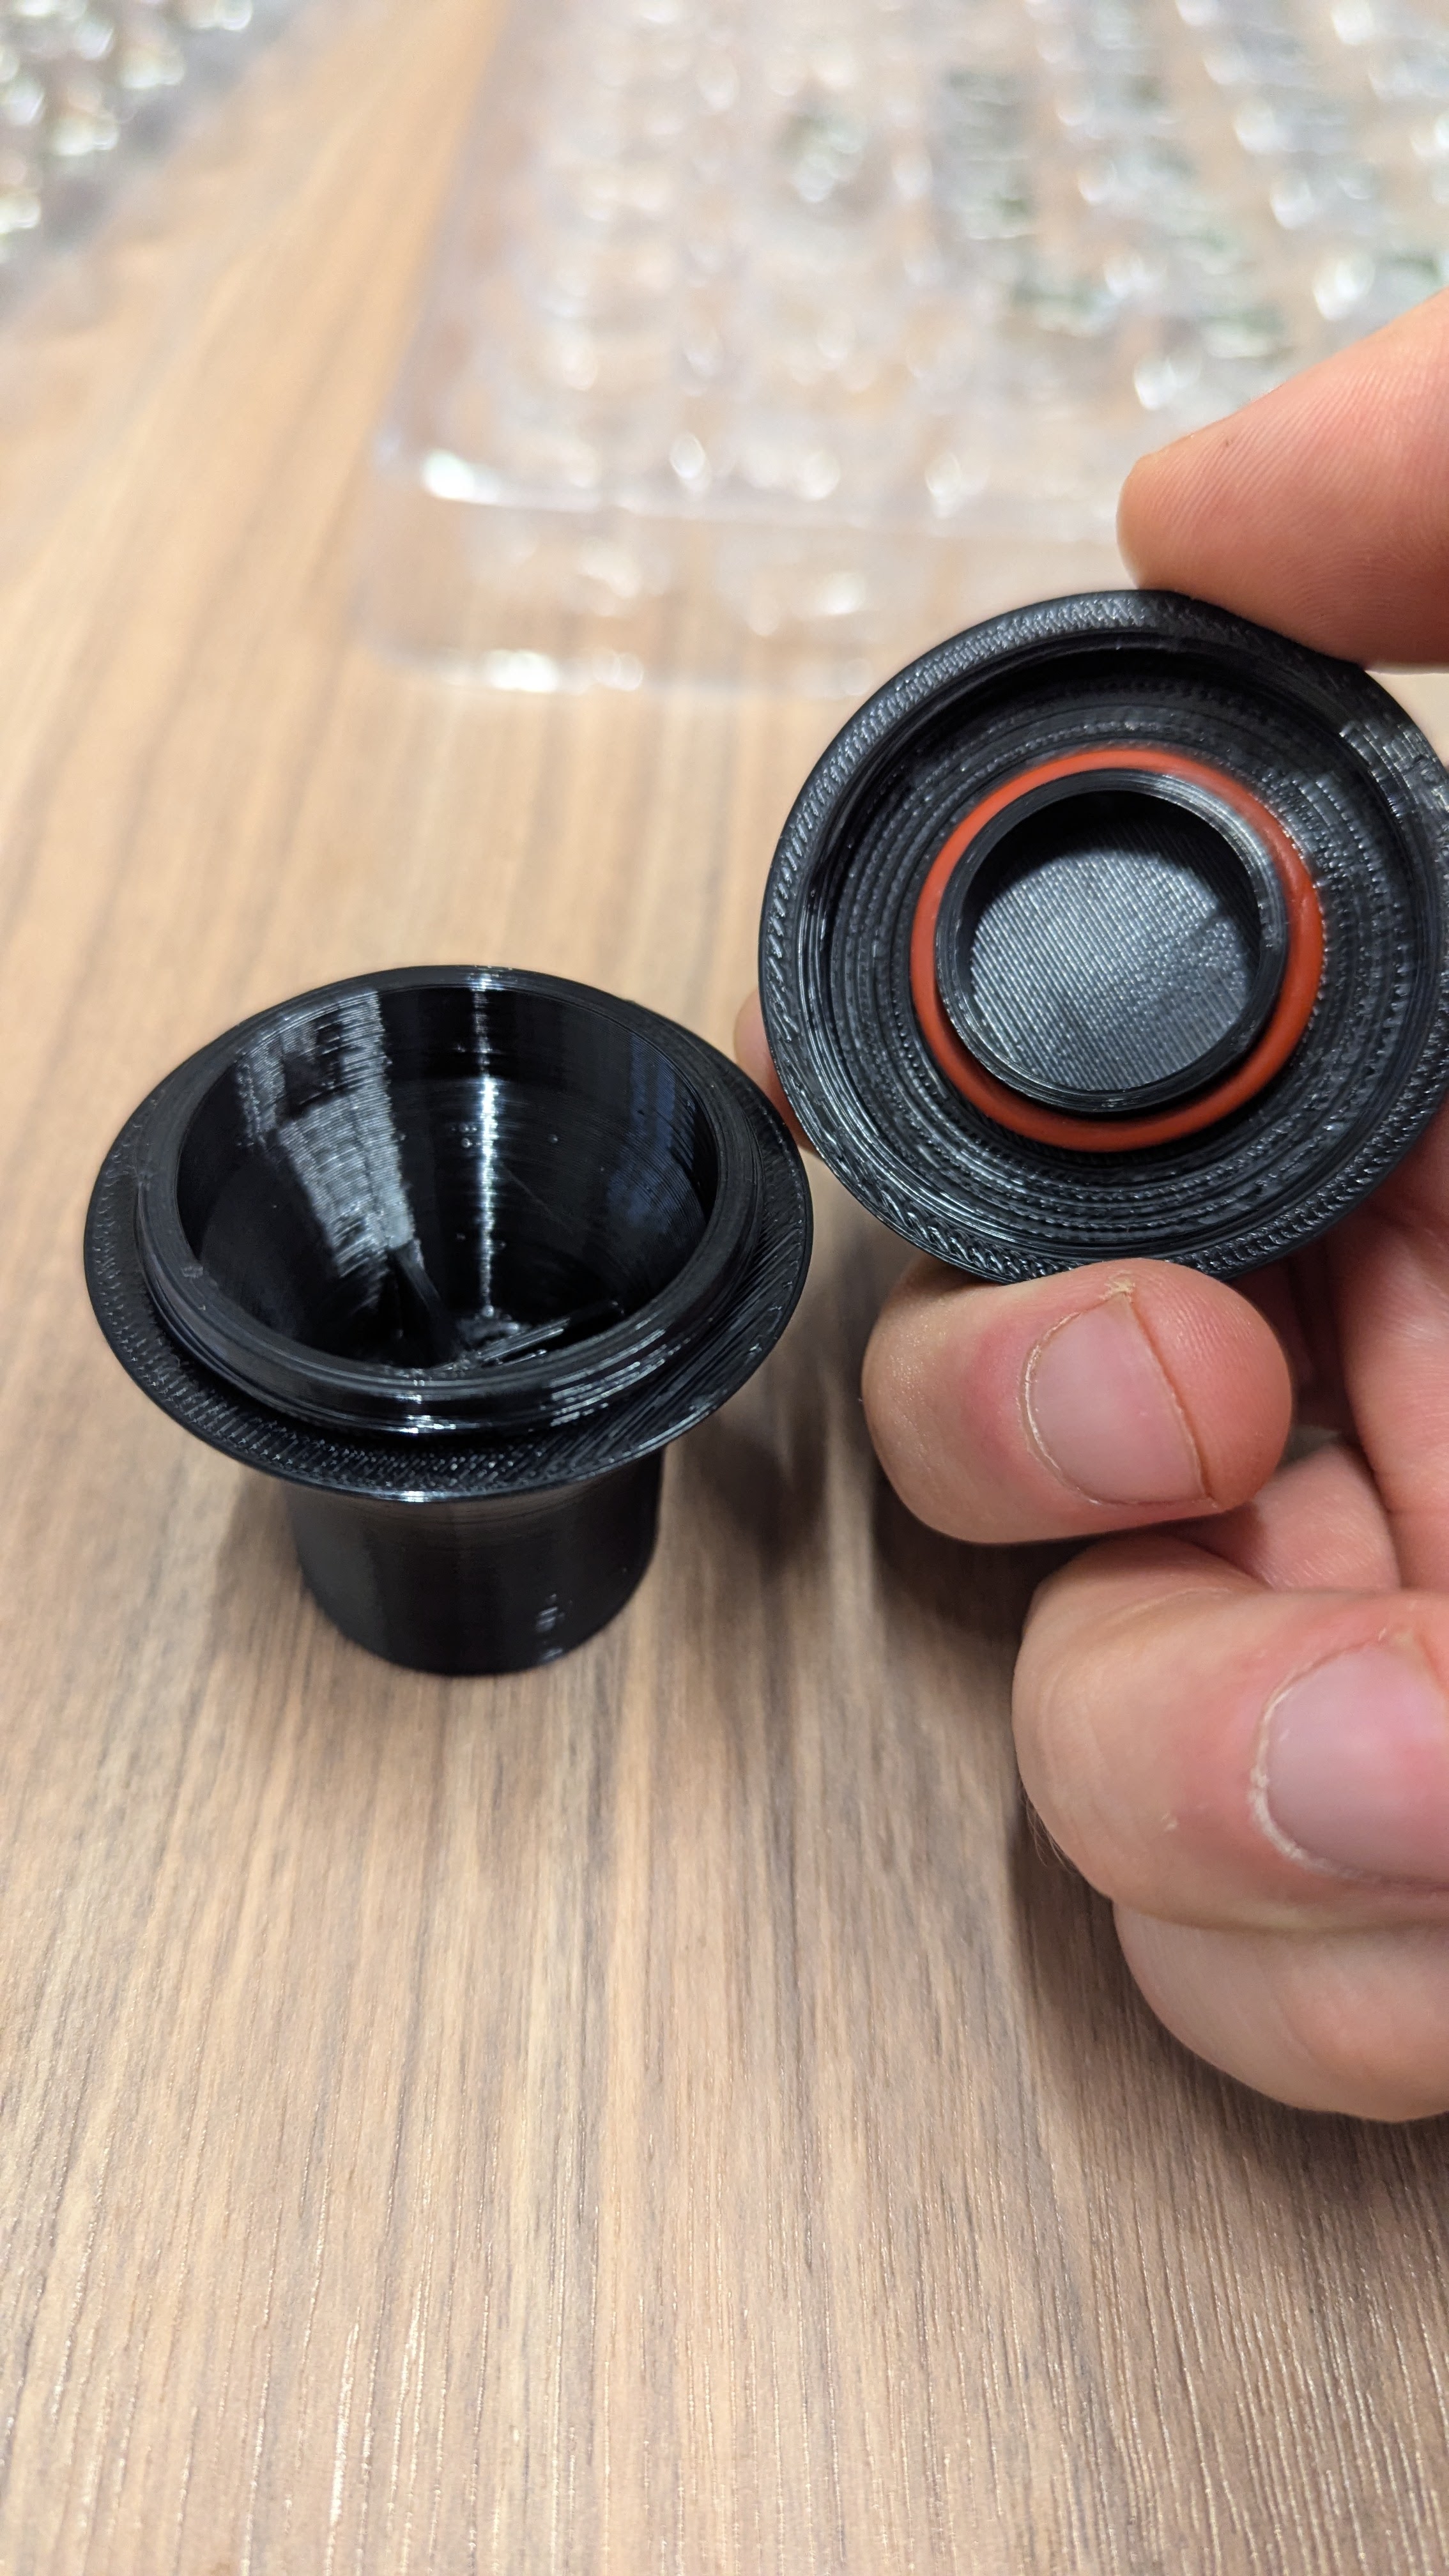
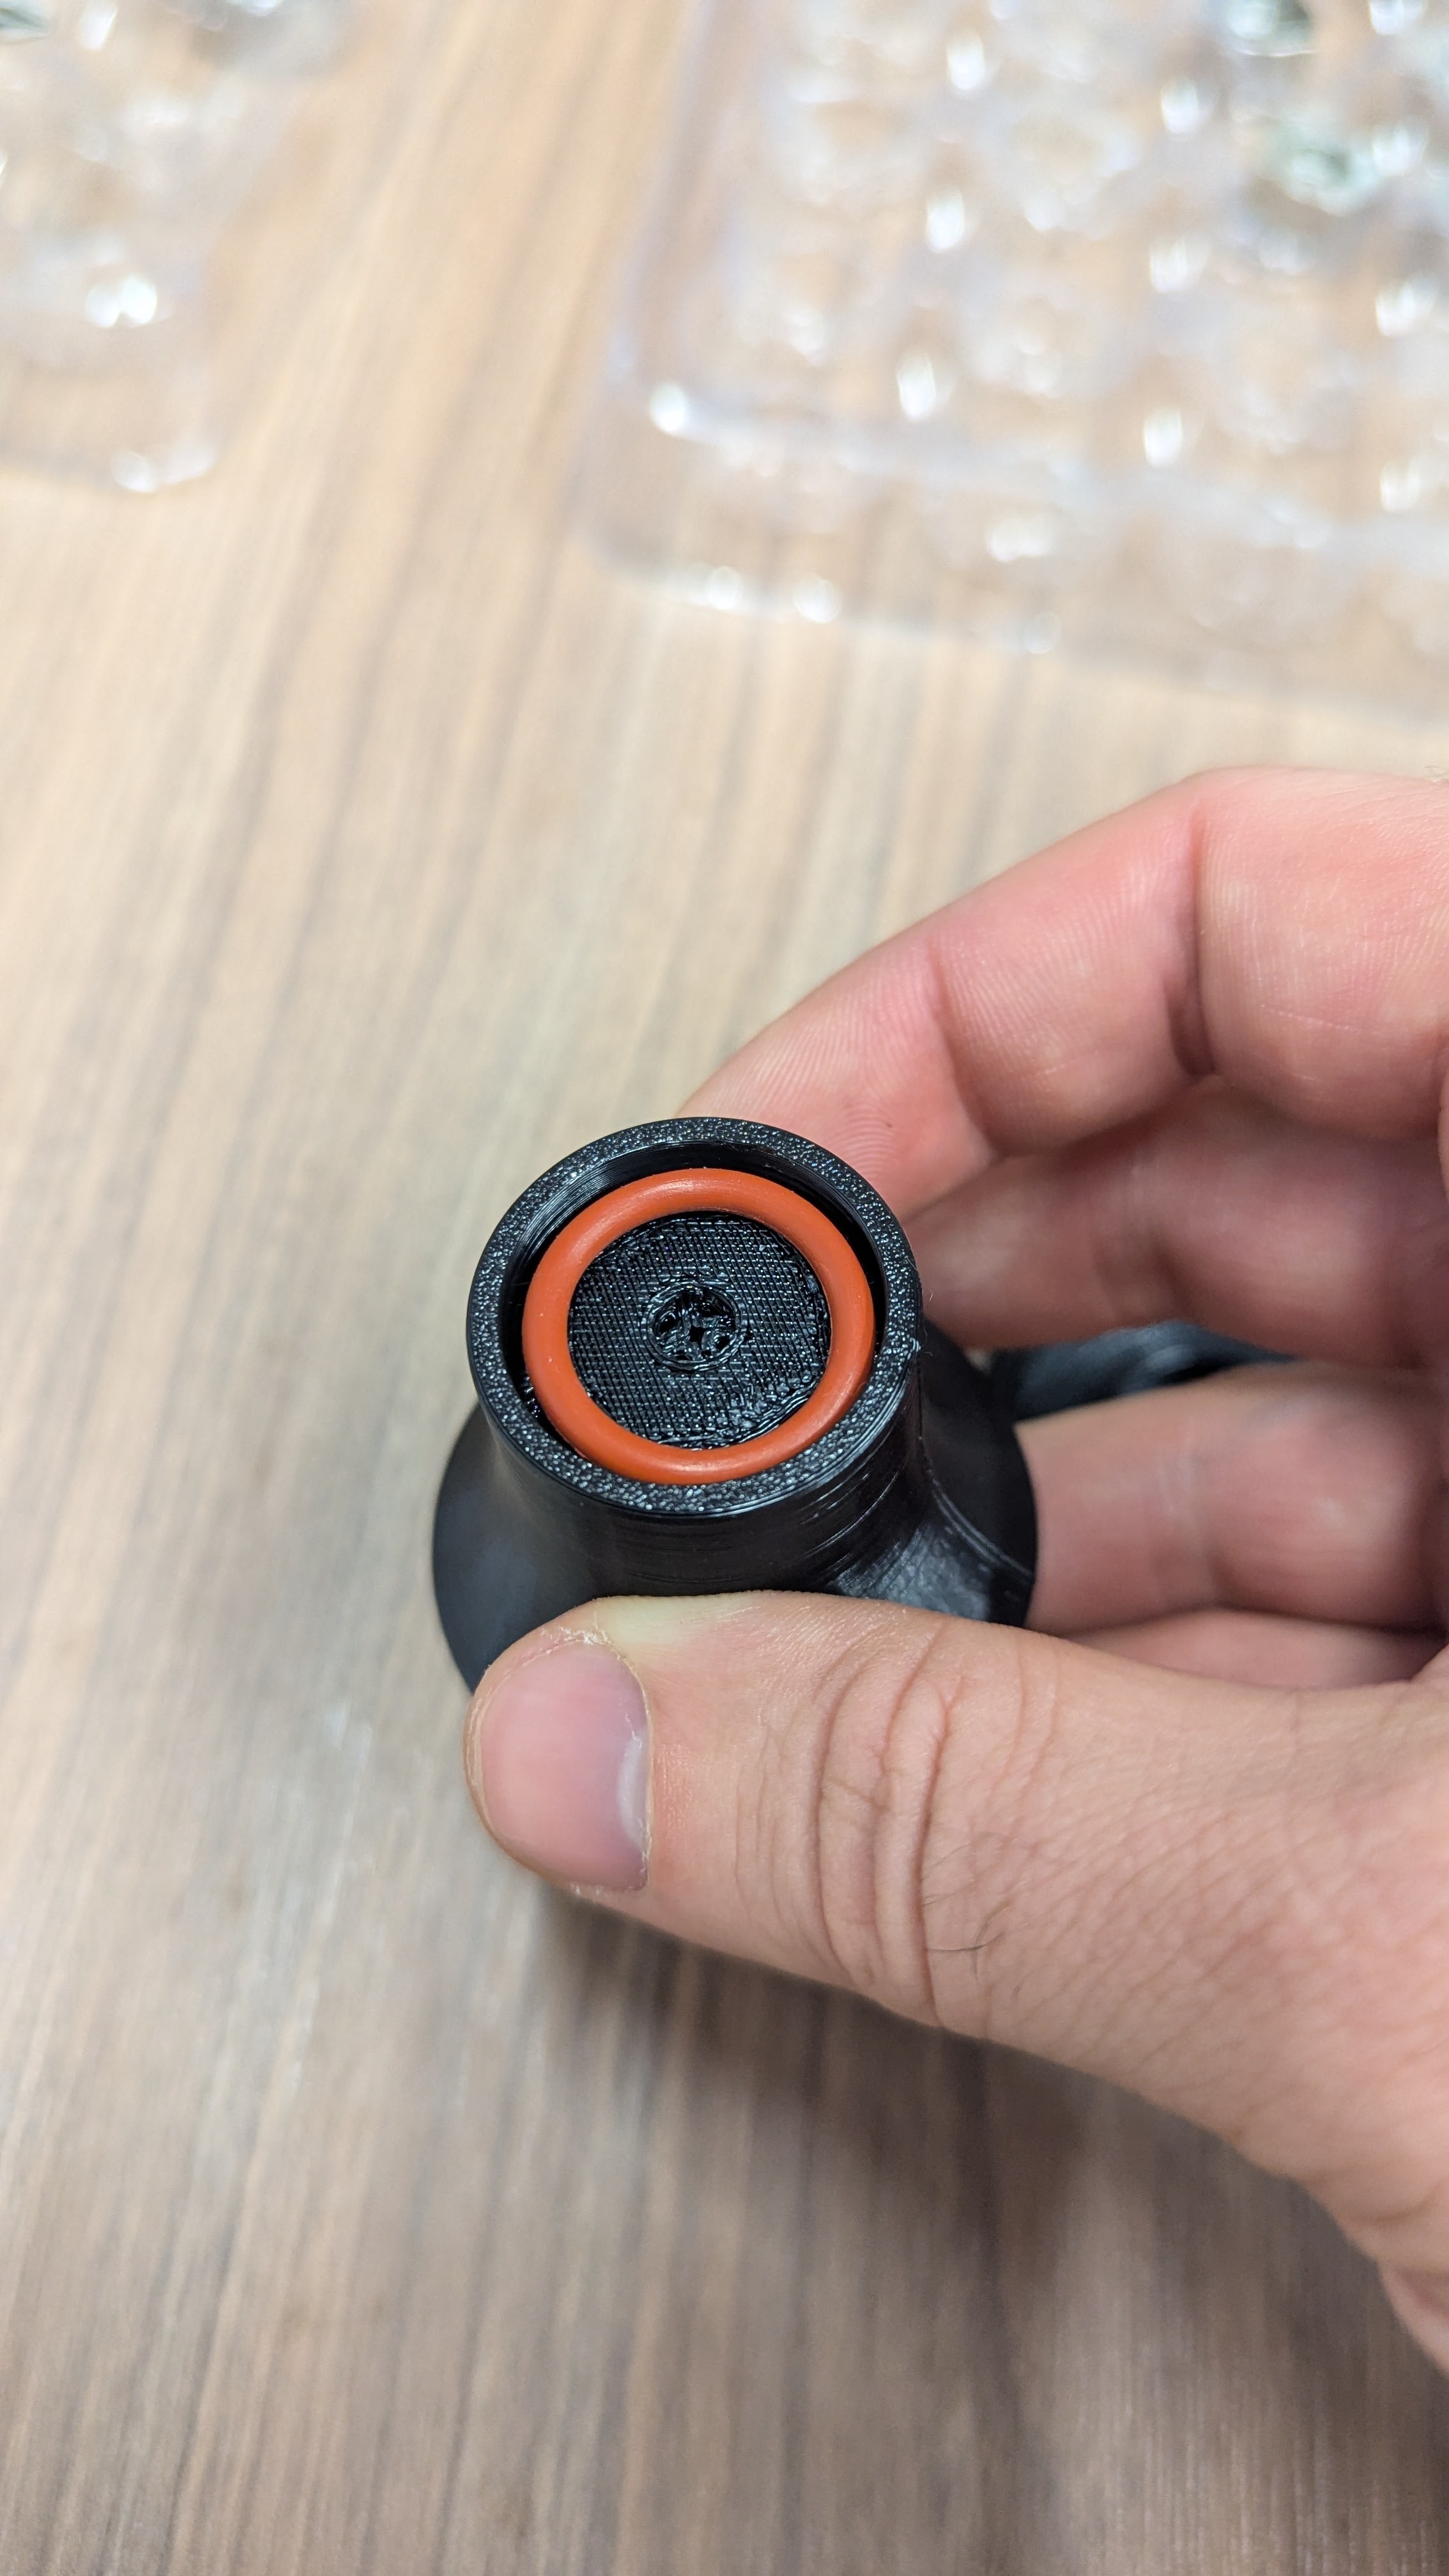
Locate the removable top section of the handle. Twist counterclockwise to unscrew and remove the top portion, exposing the spare O-ring inside.
Note: If your spare O-ring has already been utilized you can pick up O-rings from your local hardware store. Factory O-ring: 17mm x 2mm, Replacement O-ring: 15.54mm x 2.62mm (≈ 5/8" x 3/32").
3
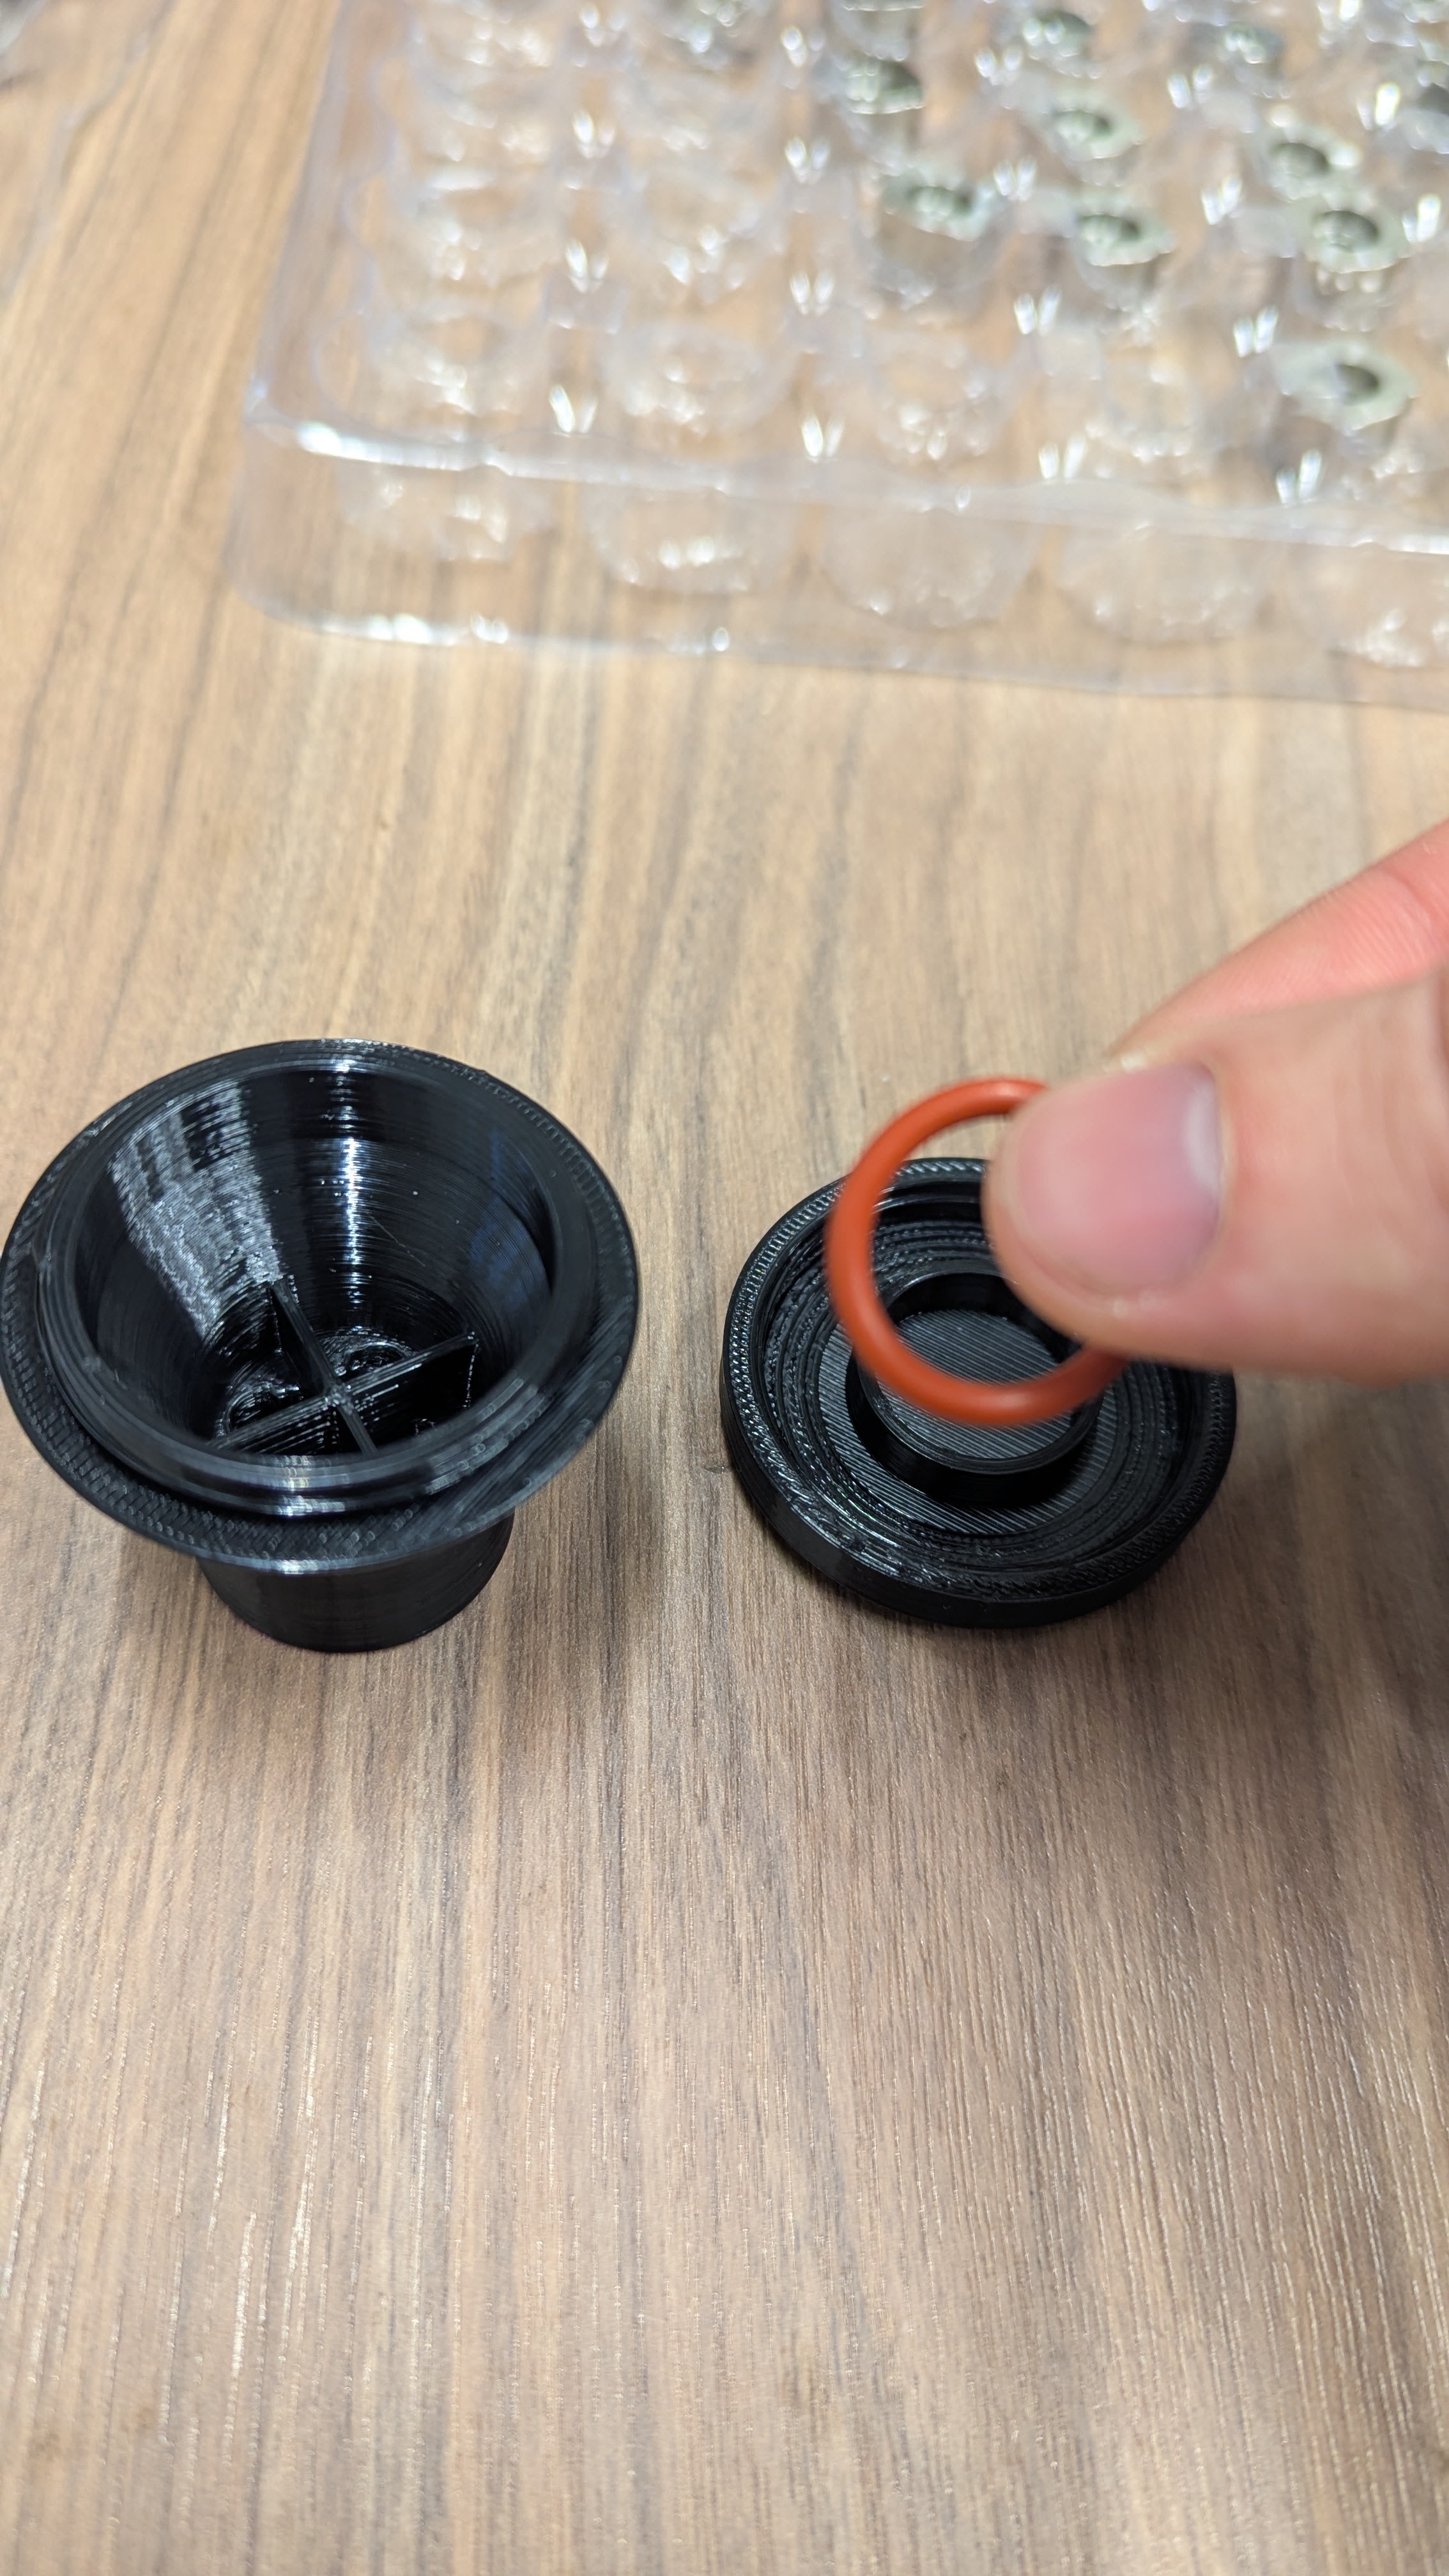
Remove the Spare O-Ring
Carefully remove the orange FDA silicone O-ring from inside the handle. This is your replacement O-ring.
4
Insert New O-Ring
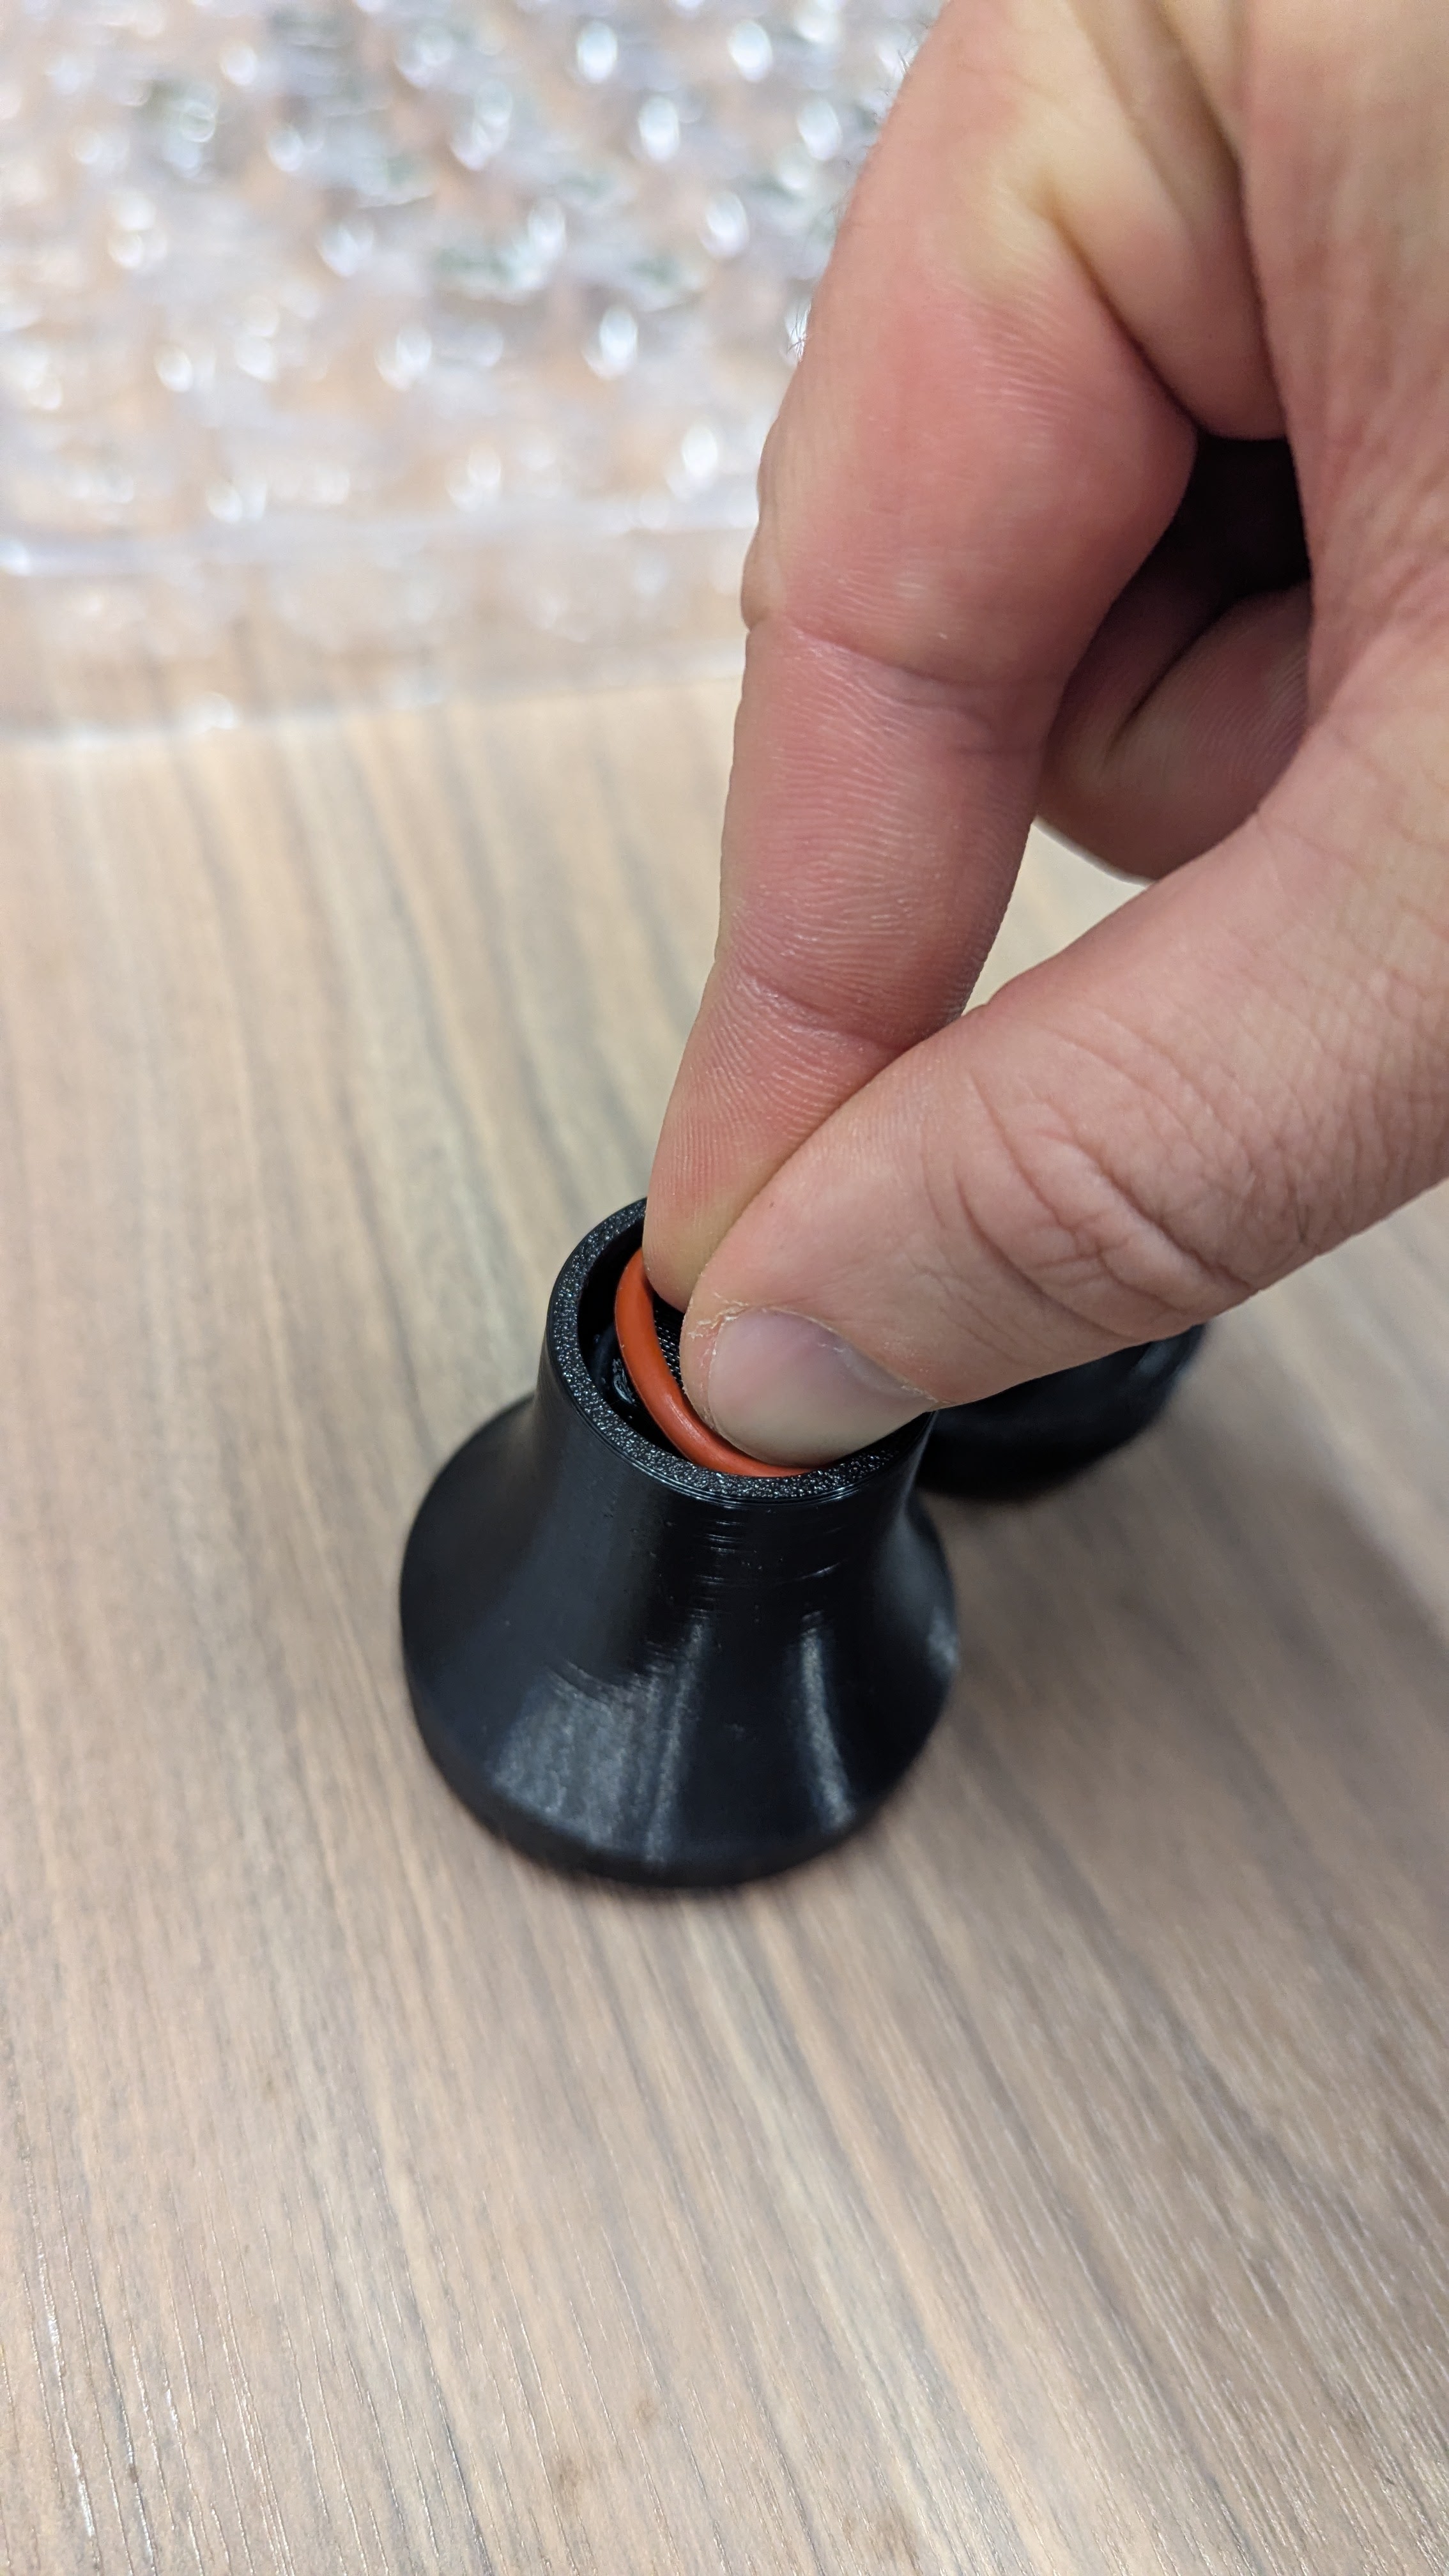
If not completed in step 1, remove the old O-ring if not already removed. Then set the new O-ring on the handle bottom and use your fingers to press into the slot while twisting the handle until it is stretched over the 4 tabs/bottom portion.
5

Reattach Top of Handle & Press on O-Ring
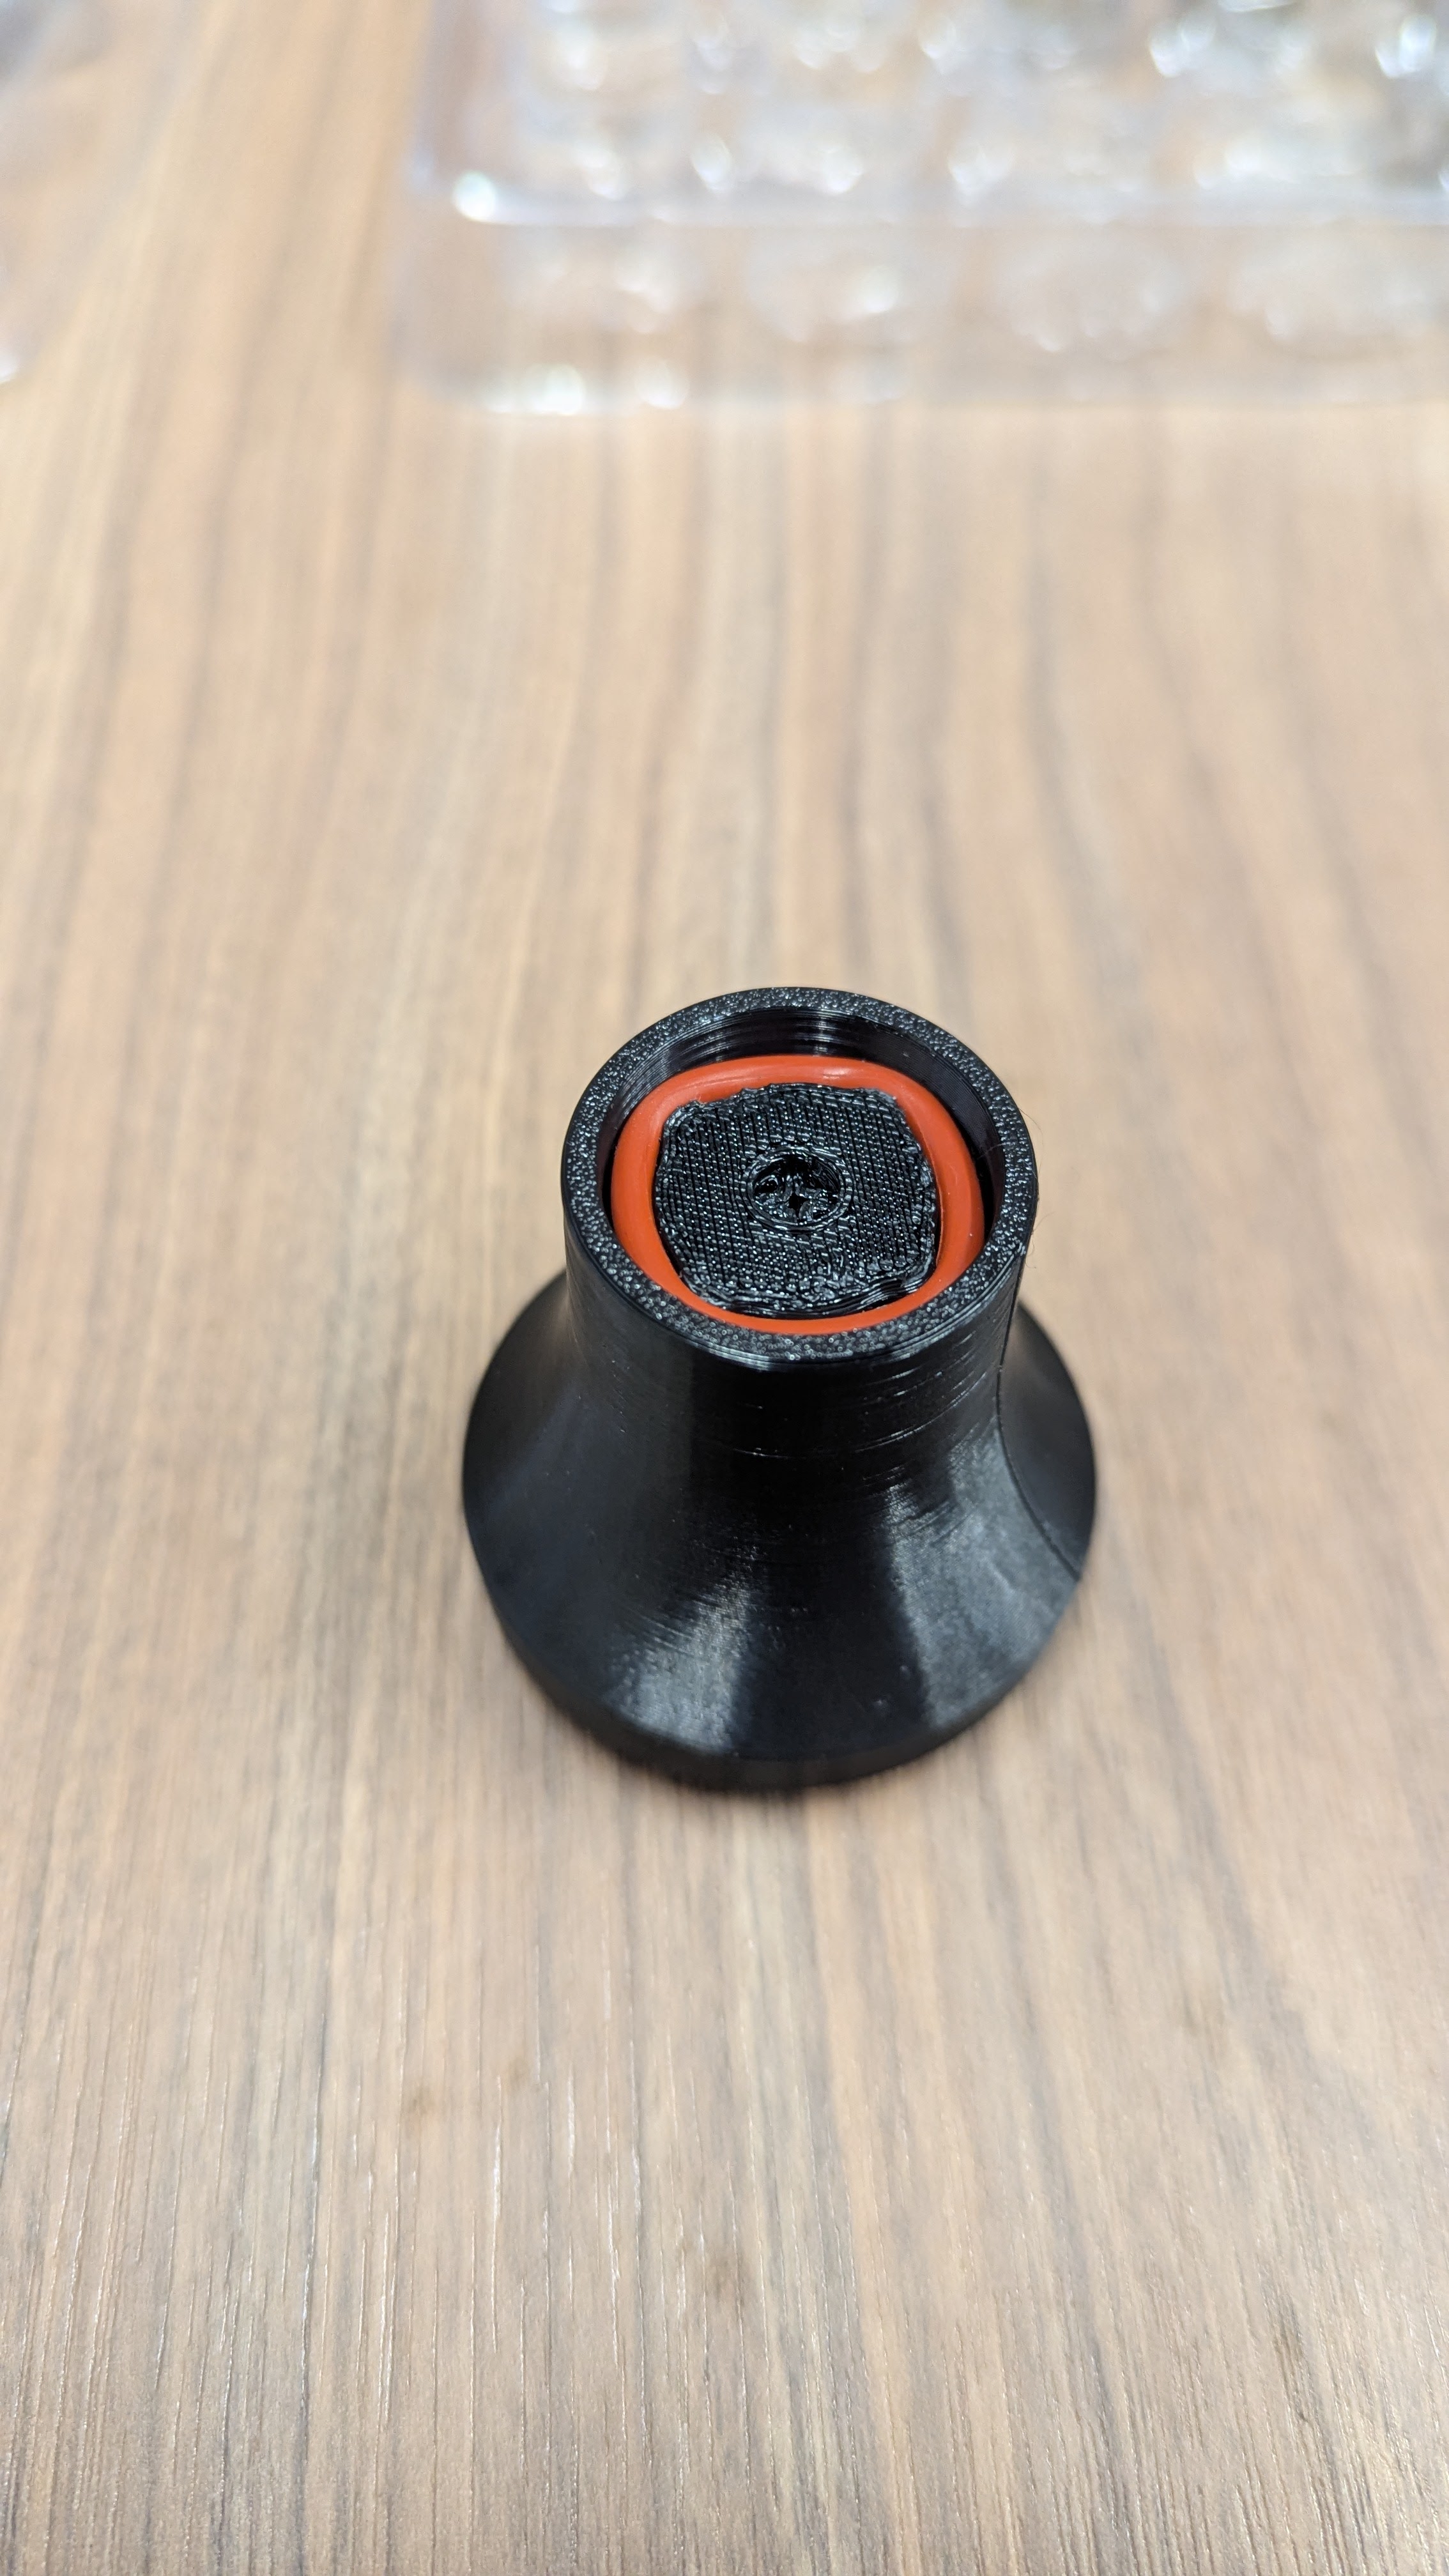
Screw the top portion of the handle back on by turning clockwise until snug. To fully set the O-ring in place, gently press the handle onto either Liddy Lid until the handle fully seats and 1/4 turn locks securely. Check to ensure O-ring is fully set behind the 4 tabs.
Note: This O-ring has a 131% larger cross section than the factory installed O-ring. This is to accommodate normal wear and tear but may feel tough to turn to begin with. The feeling will improve with normal use.
6

Do a lil' jig
Time to celebrate! You've successfully completed your O-ring maintenance.
🎉 Maintenance complete! Your Liddy is ready to go! 🎉